Rogues Gallery
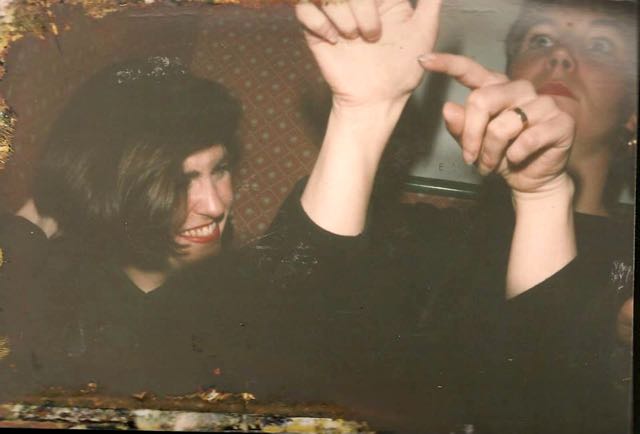
Amanda & Linda (© Daz Morris & Jo Adams)
Home
|
Previous
|
Next